Intro
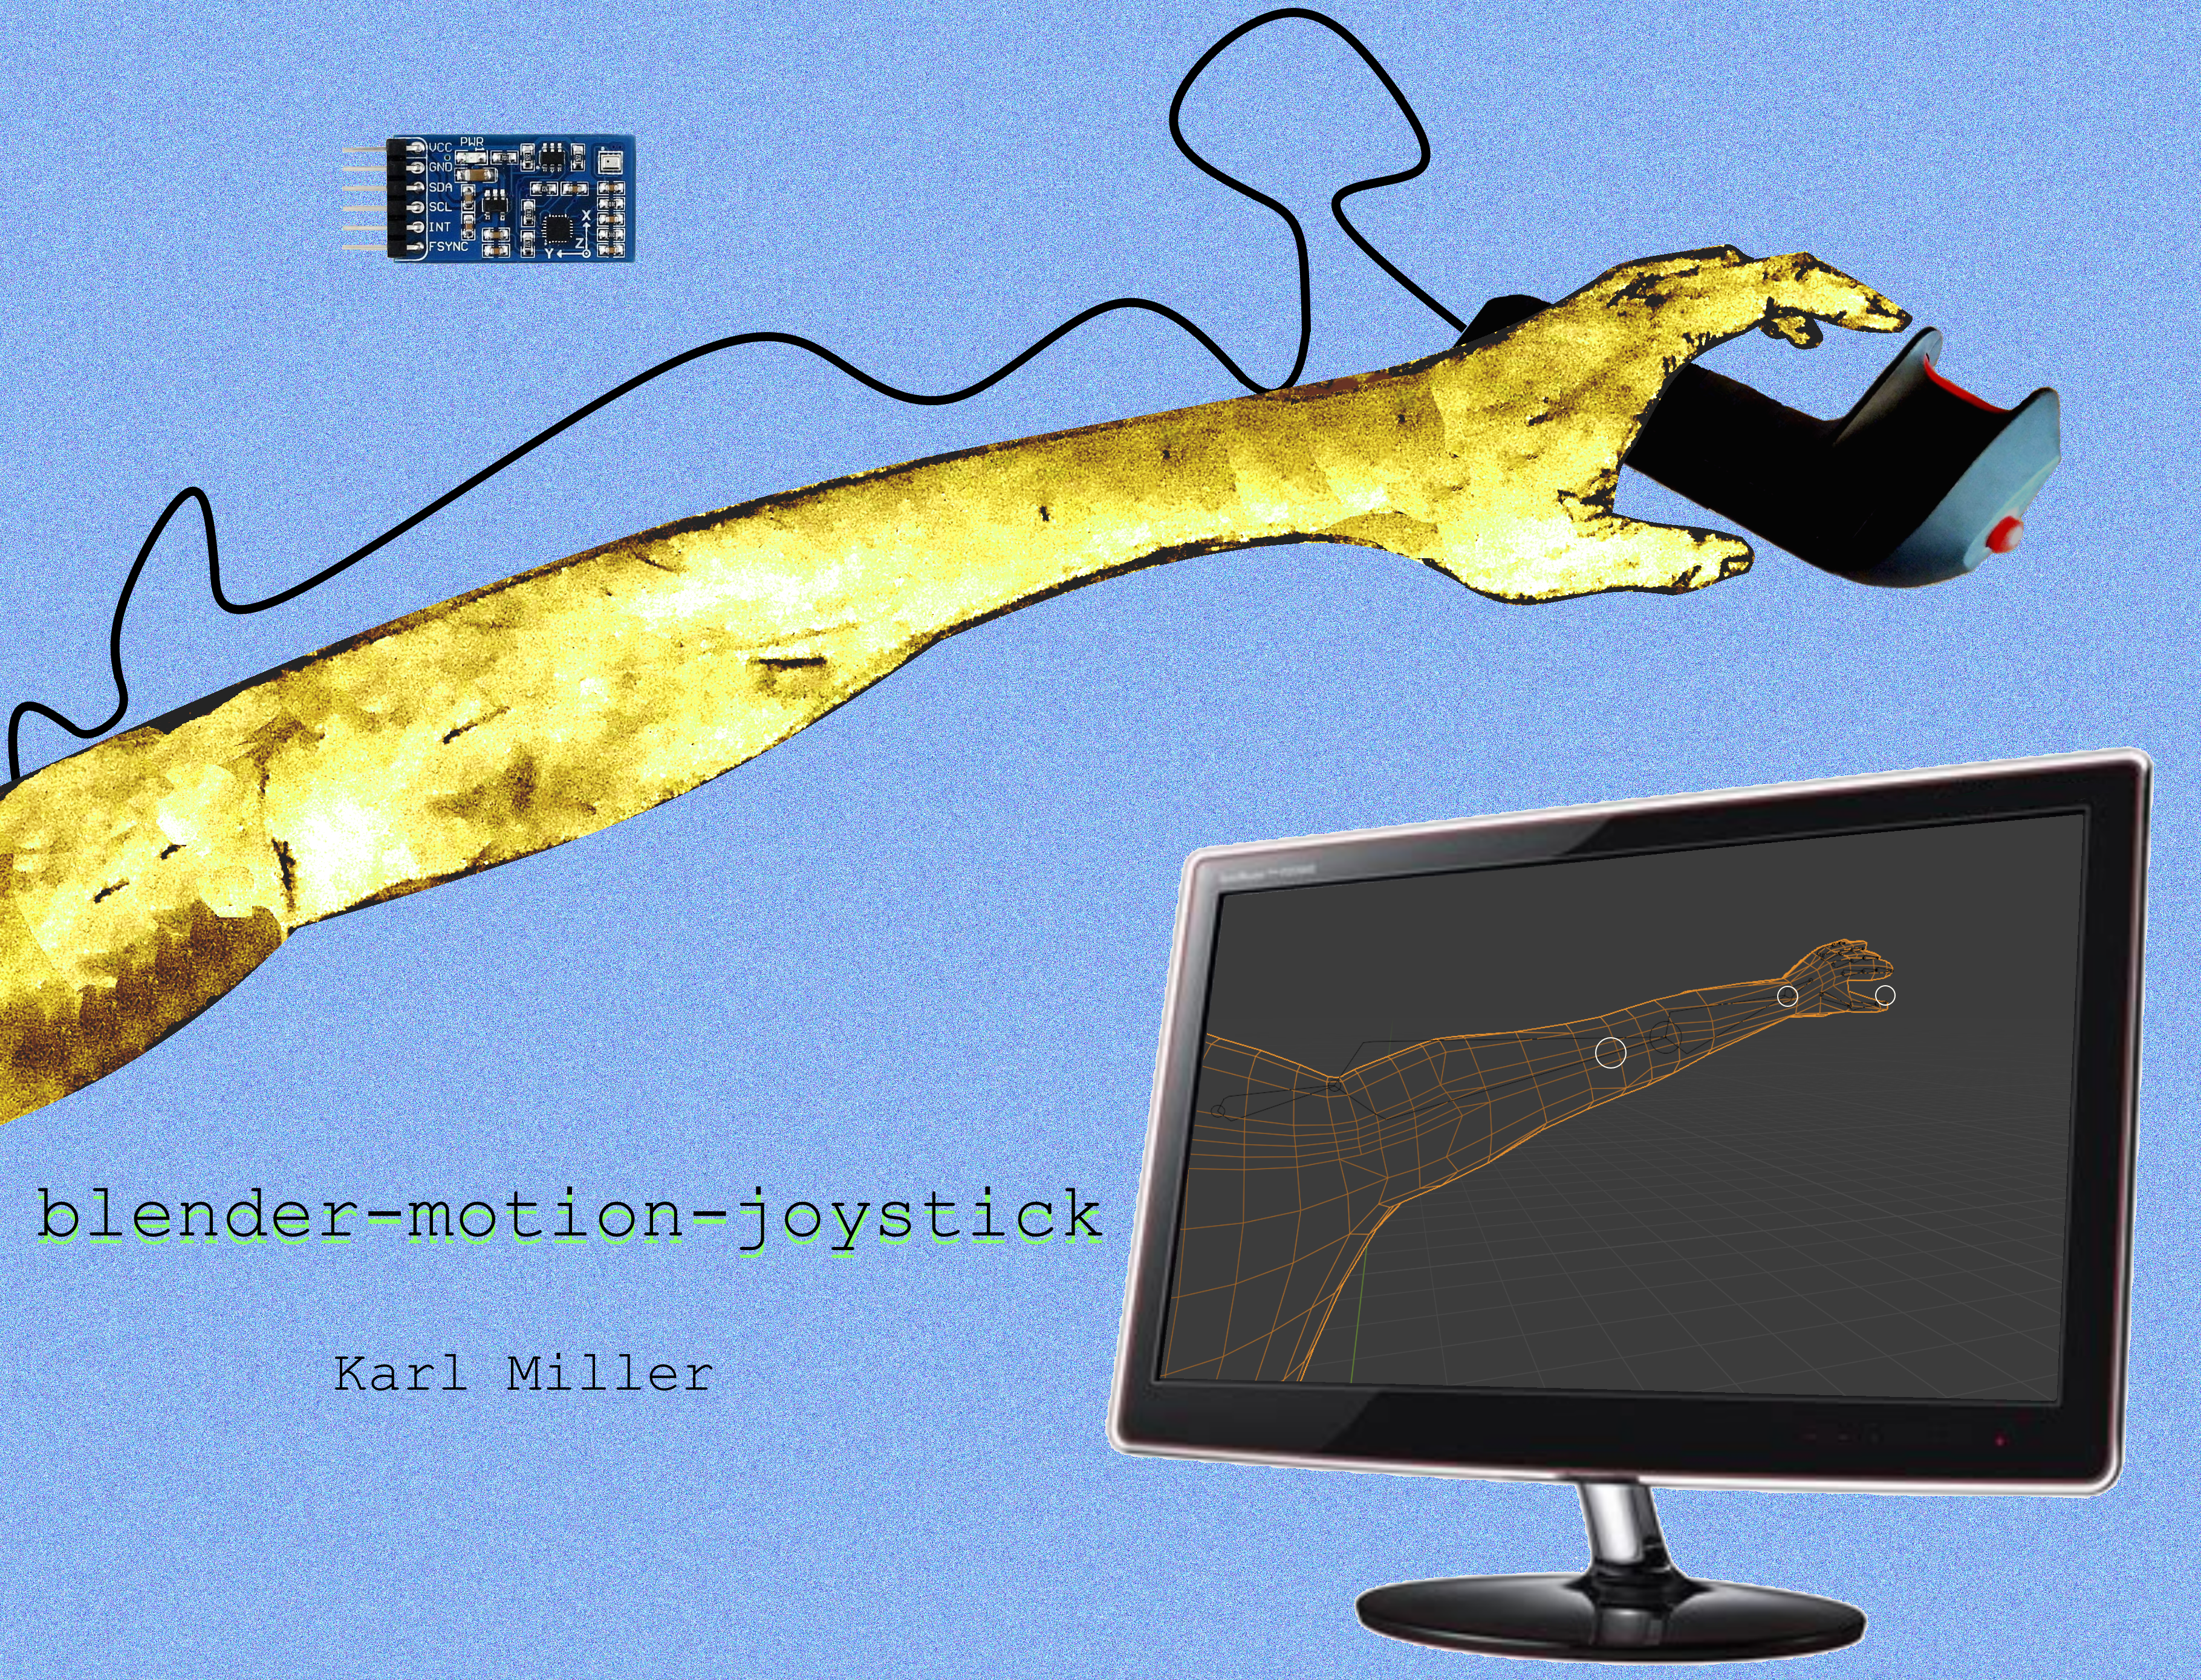
This project is a motion-sensing joystick which correctly determines hand and wrist orientation and uses an addon written for Blender, a popular, open-source 3D Modeling application used by artists all over the world, to render those rotations on selected objects in the 3D space.
Housing
The housing is an unbranded, 2-button, vintage flight joystick handle from the early 90s that I purchased off eBay.
Sensor
The main component is a WaveShare MPU-9255 10-Degrees-Of-Freedom Inertial Motion Sensor, which is affixed on the interior of the joystick with hot glue.
The sensor has several components, but for this project, what I needed was the gyroscope. The gyroscope can detect angular motion along 3 axes. The gyroscope is mounted so that the X-axis corresponds to pitch, the Y axis corresponds to roll, and the Z axis corresponds to yaw, as would likely be expected.
What it does
By rotating the joystick handle and pressing a button, the user can manipulate objects in Blender.
Use Case
This type of motion-sensor technology is very useful to 3D artists, and is sold for big bucks. For example, the Rokoko Smartsuit Pro retails for $2500 and uses 19 sensors similar to this one (which went for $15-$30) to read human movement from a full body suit. This is commonly used to animate “rigs” of 3D models, as even the best artists have difficulty making 3d models animate in a way believable to the human eye.
Another application is in virtual reality. One popular virtual reality platform is the HTC Vive, which comes with two wireless joystick controllers that are not very different from this joystick, if a bit more polished. Each of those joystick on their own retails for about $130.
Building similar equipment at home that can accomplish those same tasks is viable. The total cost of all equipment used in this joystick was less than $40.
Installation Instructions
Wire the joystick by following the Wiring guide.
Install Blender on a Raspberry Pi by running sudo apt-get blender
Copy the folder joystick_control into the blender/scripts/addons directory.
Copy RPi.GPIO and smbus from your home python directory to blender/modules/lib
Open Blender 2.7.9
In File > Settings > Addons, check Motion Sensor Joystick Controls to enable the addon.
Select the object to rotate.
Press spacebar to bring up the command menu.
Type Open Joystick Menu to activate the user interface.
Select desired options, and check running.
Press OK
Hold down the top button on the joystick and rotate the joystick to move the selected object(s) in Blender.
Using this Documentation
This documentation was made with Sphinx. Much of it was generated from docstrings in the source code.
The wiring diagram was made with the Graphviz plugin for Sphinx.
Dependent libraries have been incorporated into the Sphinx documentation generator, so links to outside documentation (such as for smbus2 and bpy) work, if the reader desires further information about the dependencies.
Documented objects all have links next to them to the source code, and the source code links back to where the object is documented.